

User manual
Running the add-on
To open page for preparing report press to “Report” button on top of page:
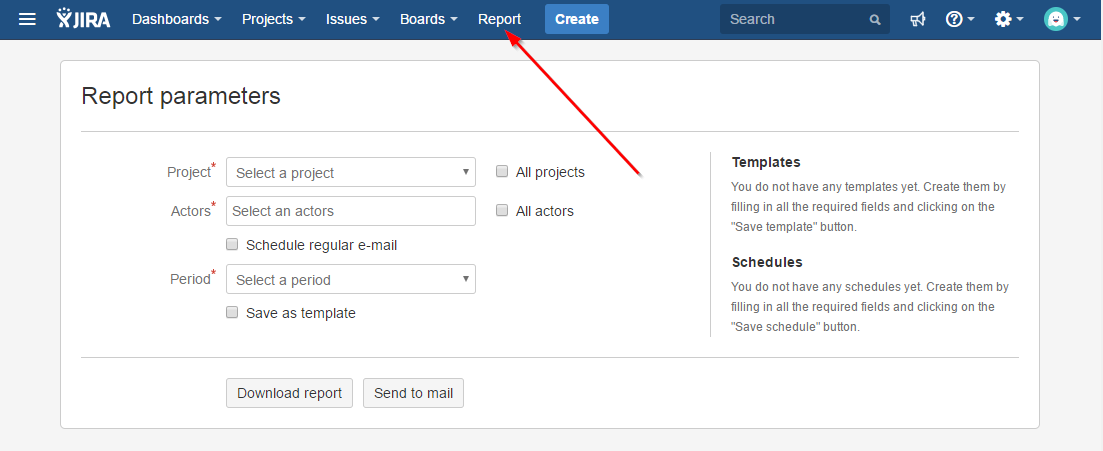
The following actions are available on the "Report" page:
Filling report parameters
You can select these parameters for report:
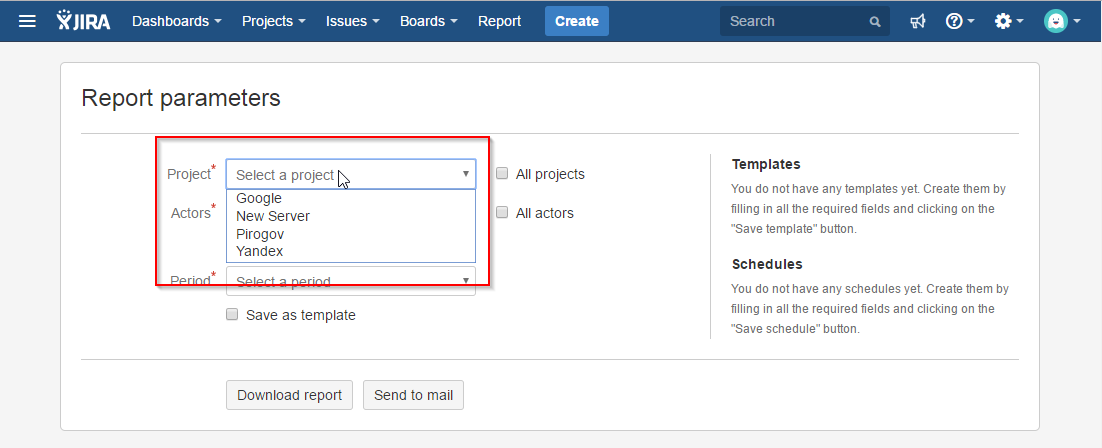
Project. You can select single project or all projects available for your user.To select single project you should press on drop down menu and select required project:
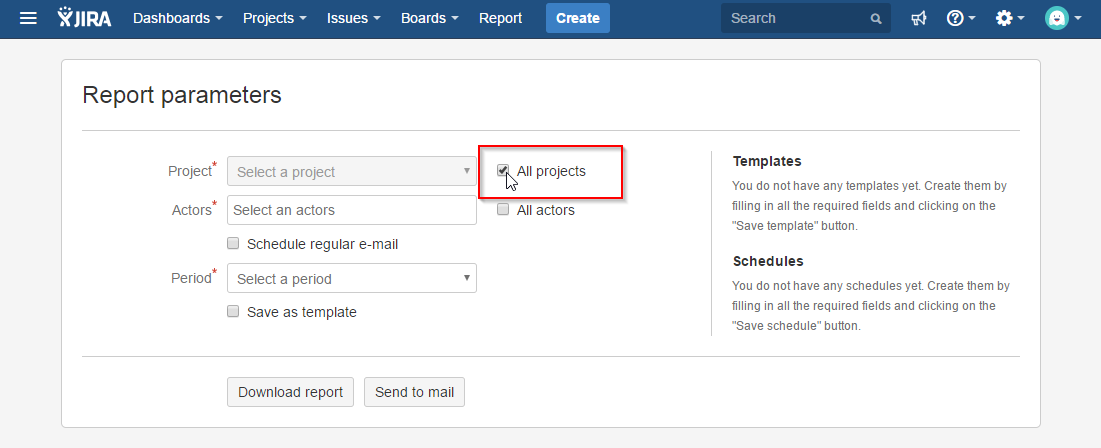
To choose all projects simultaneously you should enable “All projects” checkbox:
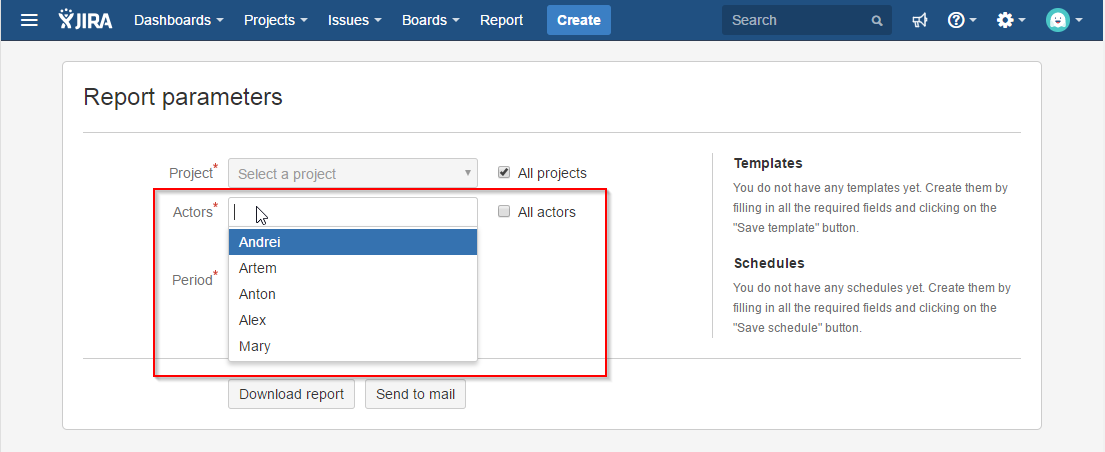
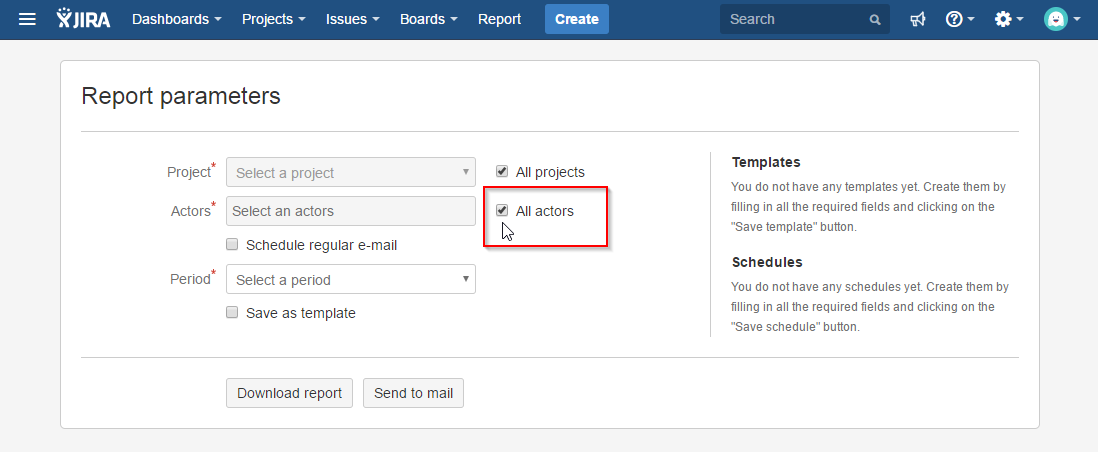
Actors. You can select one, multiple or all actors.
To choose one or multiple users you should press on “Actors” drop down and select required actors by usernames:
Note:
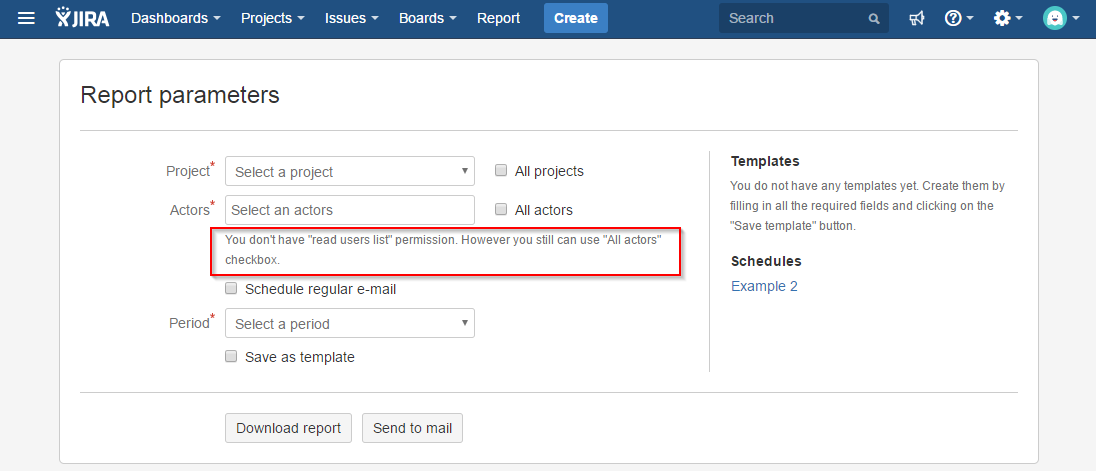
If under the field "Executors" you see the hint "You don't have "read users list" permission. However you still can use "All actors" checkbox." and in the field "Actors" you can select only one user (yourself), you need configure permission to view the list of users. How to do it read in the Settings.
To choose all actors you should press “All actors” checkbox:
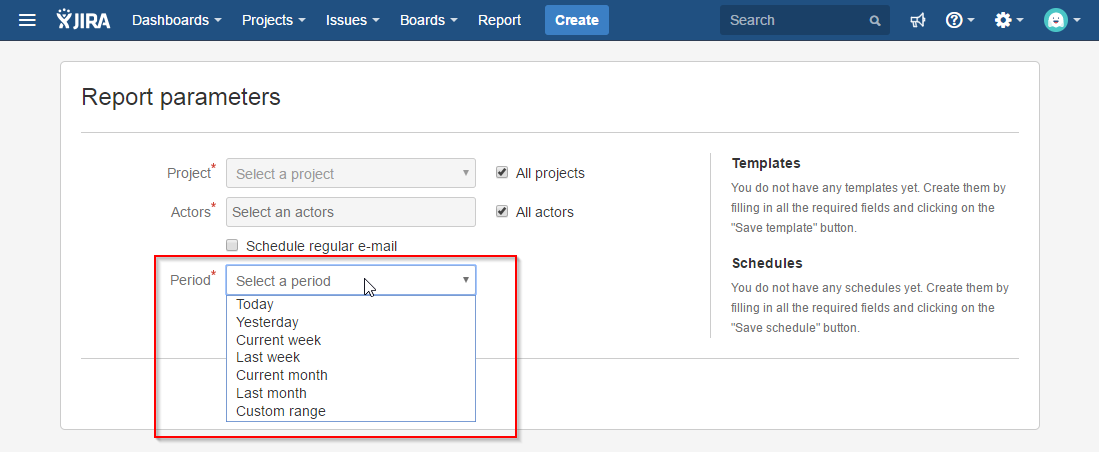
Period. You can choose one of the following values:
Today - report will be generated for the current date;
Yesterday - report will be generated for the previous date;
Current week - report will be generated for this week (from monday to sunday inclusive);
Last week - report will be generated for the previous week (from monday to sunday inclusive);
Current month - report will be generated for the current month (from first to current day of the month inclusive);
Last month - report will be generated for previous month (from first to last date of the month inclusive).
Custom range - report will be generated according to the manually selected dates.
Download the report
To download the report, you must fill out the report parameters and click on the "Download report" button:
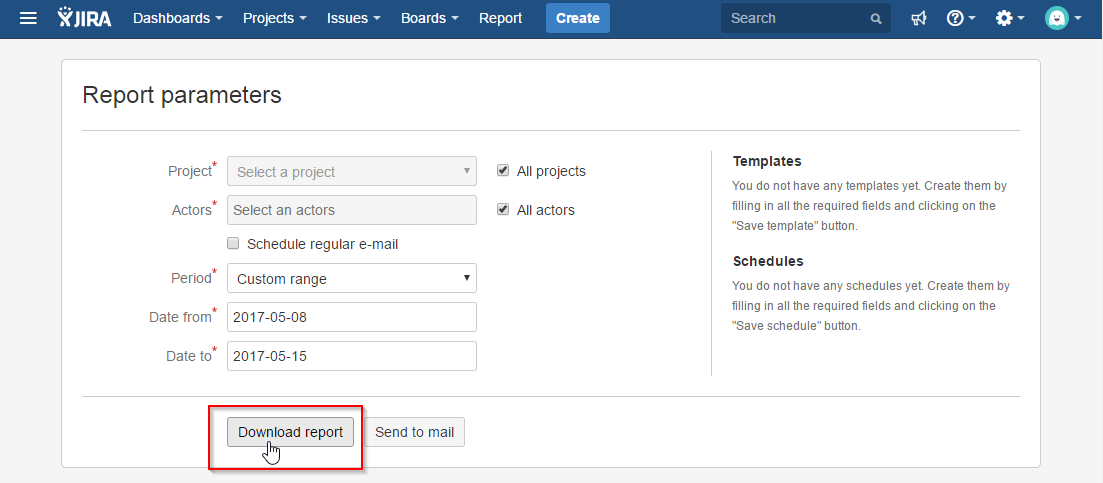
The report is formed from several seconds to several minutes, depending on its volume.
E-mail your report
To send a report to an email, you must fill out the report parameters and click on the "Send to mail" button:
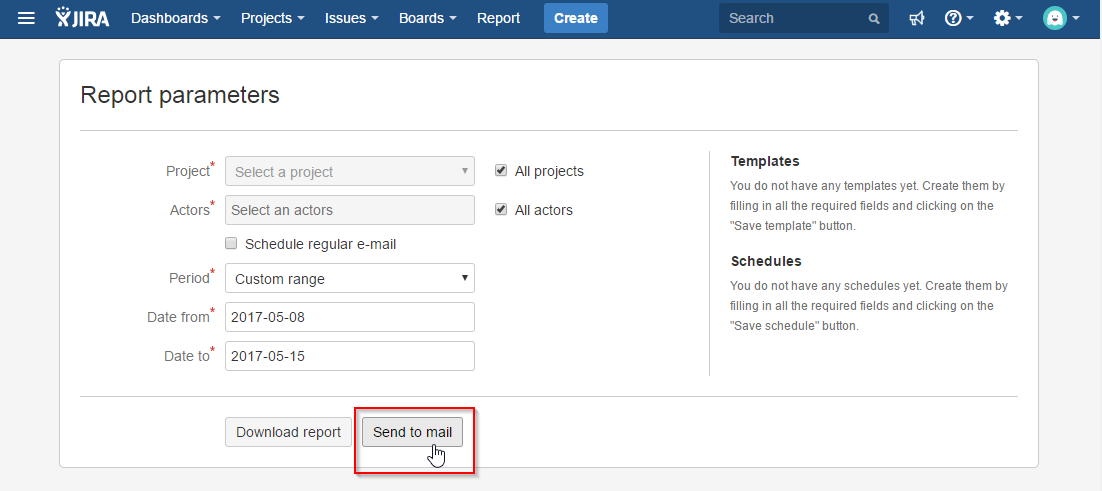
Note:
If the letter does not arrive for a long time, check, please, spam.
After that, within a few minutes, a letter with a ready report will come to the e-mail.
Working with templates
Templates are used to automatically fill out report parameters.
Creating a Template
To create a template, you must:
Check the "Save as template" checkbox.
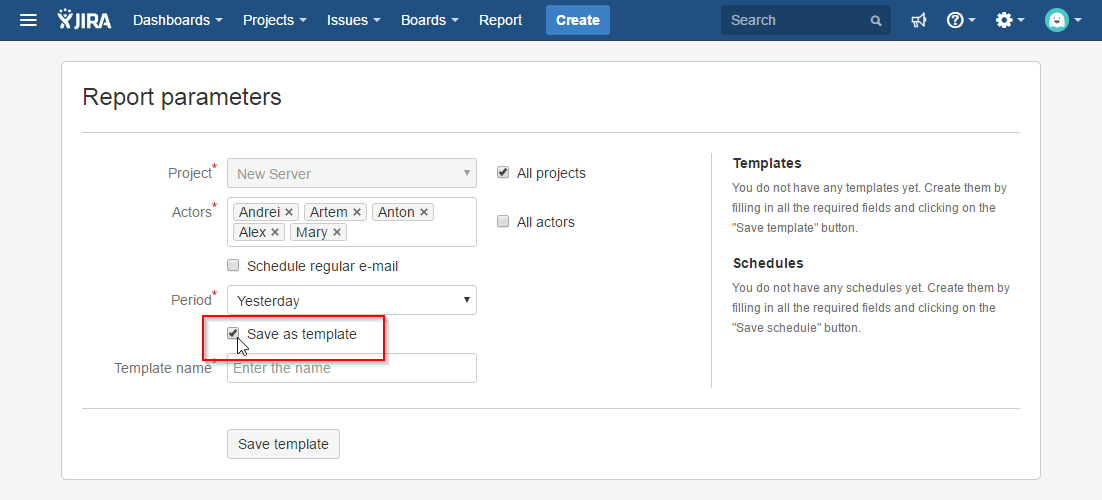
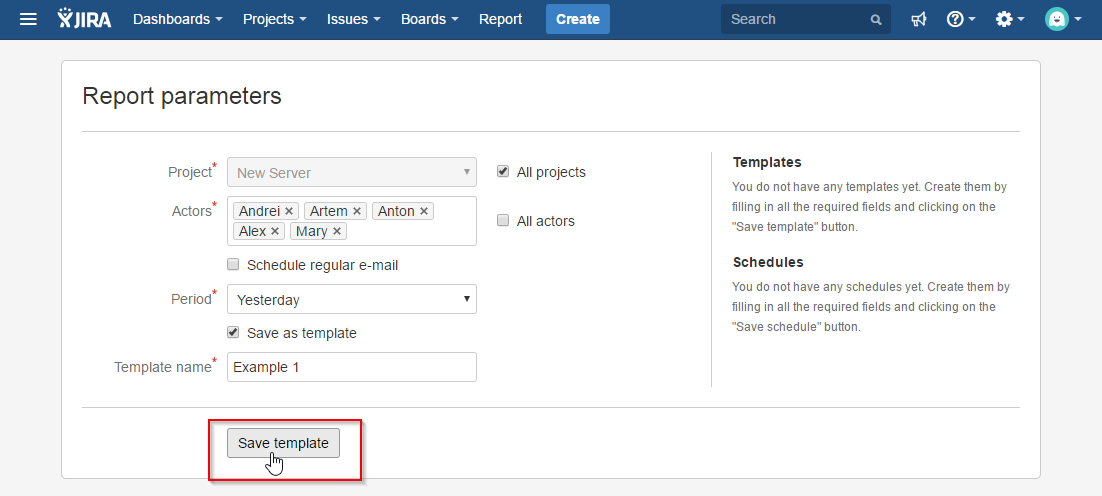
In the "Template name" field that appears, enter the name of the template.
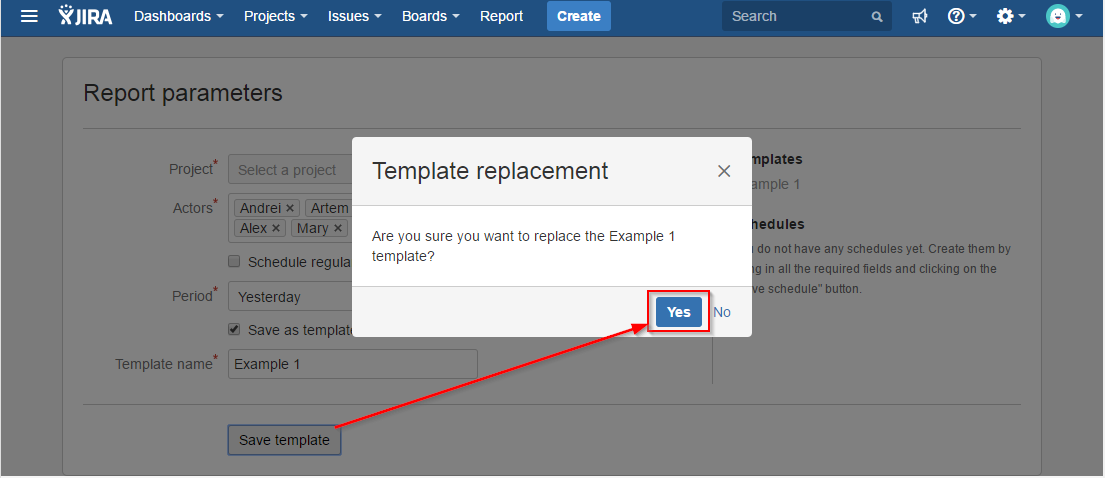
Note: if you enter the name of the existing template, when saving it will be suggested to replace with a template with the same name
Click on the "Save template" button.
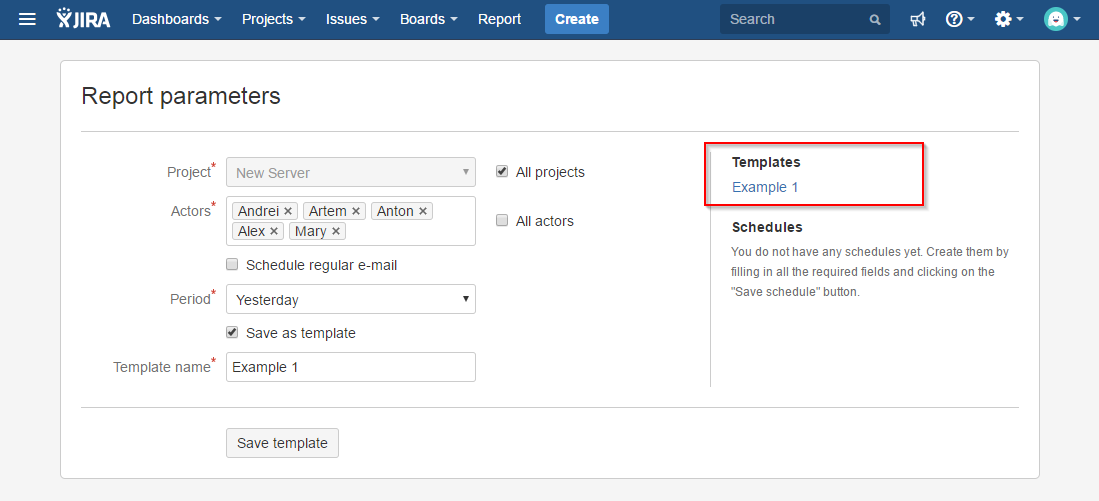
The saved template will appear in the list of templates on the right side of the screen:
Applying a Template
To automatically fill in the fields using the saved template, click on the template name. After that, all data will be replaced with those that are in the template.
Changing the template
To change the template, you must:
Apply the template by clicking on it in the list of templates.
Make the necessary changes.
Select the checkbox "Save as template".
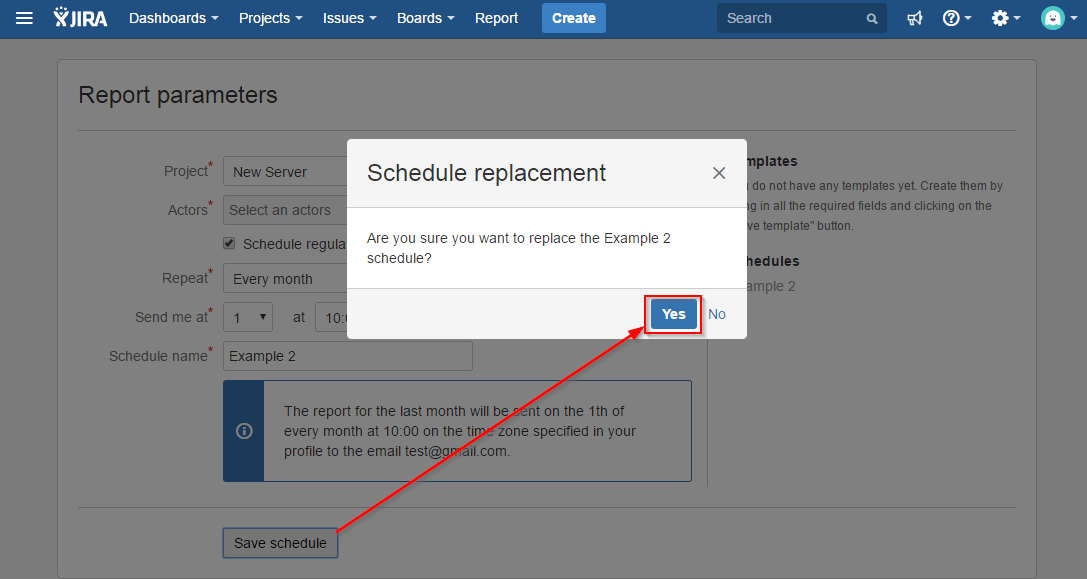
Click on the "Save template" button. Select "Yes" in the pop-up.
Note, if you change the name of the template and click on the "Save template" button, a new template will be created.
Deleting a template
To delete a template, you must hover the mouse cursor over the name of this template and click on the appeared delete icon:

Schedule
To create a report sending to e-mail on a schedule, you must:
To check the box "Send to mail on a schedule". In the fields that appear, you can configure the date and time when the report was sent.
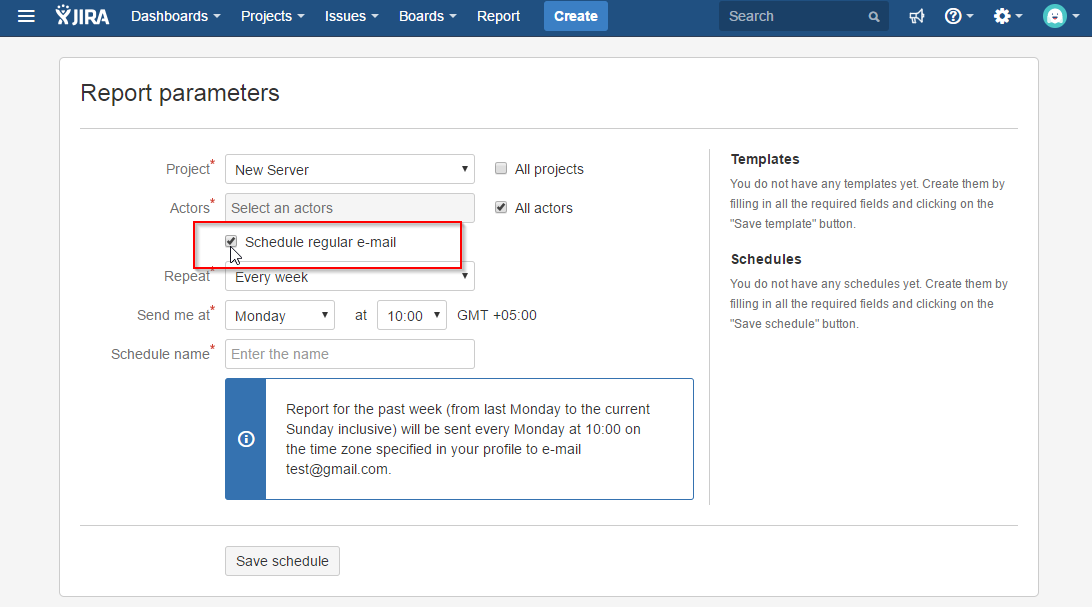
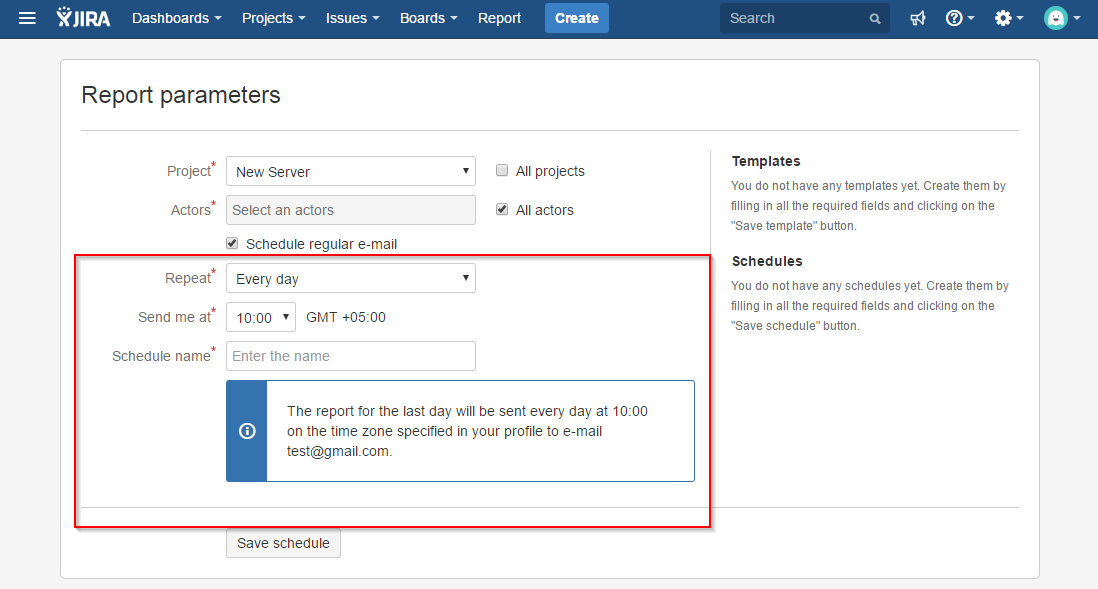
In the "Repeat" field, select the reporting period: “Every day”, “Every week” or “Every month”.
If you select "Every day", the report will be generated in the past day and sent the next day at the specified time.
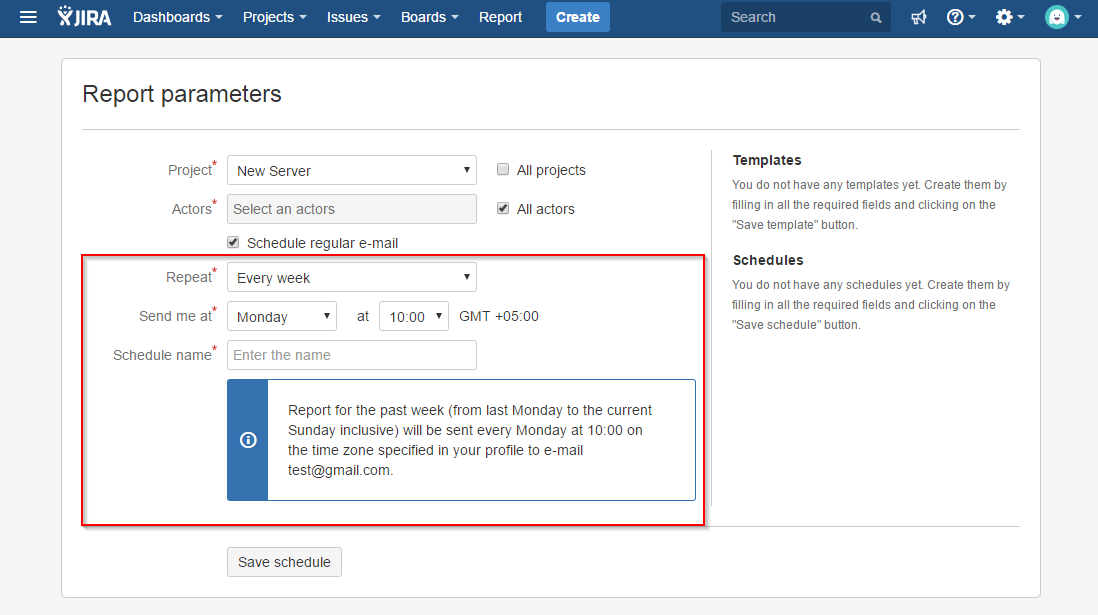
If you select "Every week", you will be prompted to select the day of the week in which the report will arrive, and the time the report was sent. For example, if you select Saturday, the report will be generated from last Saturday to Friday and will be sent to e-mail every Saturday at the specified time.
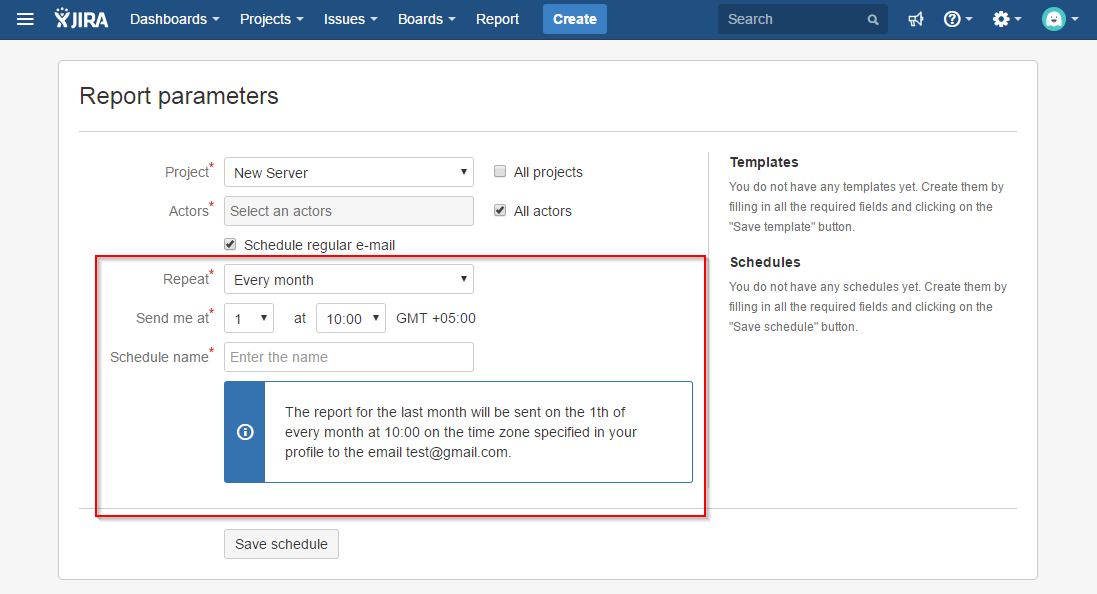
If you select "Every month", you will be prompted to select the number of the month in which the report will be sent. For example, if you select 25, the report will be generated from the 25th of last month to the 24th of the current month and sent on the 25th of the current month at the specified time (note that you can not select 29, 30, and 31).
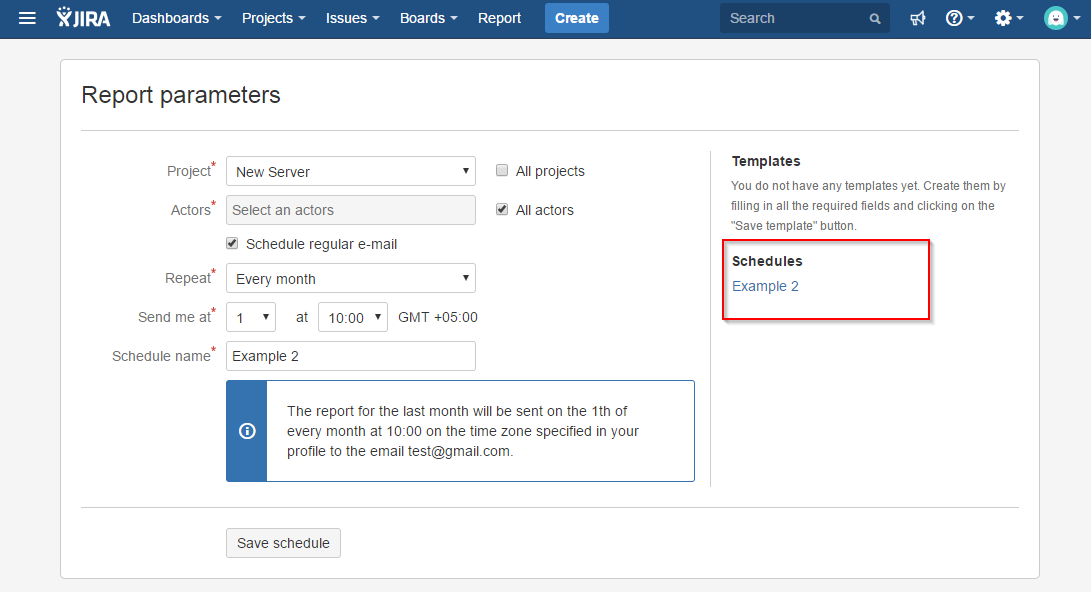
In the "Template name" field, enter the name of the template.
Click on the "Save template" button.
The saved template appears in the list of templates. Opposite the name of the template is the "letter" icon:
Note:
Automatic report sending can be configured only for the email of the current user (it is listed on the page). In future versions of the plug-in it is planned to add the ability to specify any email.
Editing the schedule
To change the schedule by which the report is sent to e-mail, you must:
Apply the schedule by clicking on it in the list of templates.
Make the changes.
Click the "Save schedule" button.
Note, if you change the name of the schedule and click on the "Save schedule" button, a new schedule will be created.
Deleting a schedule
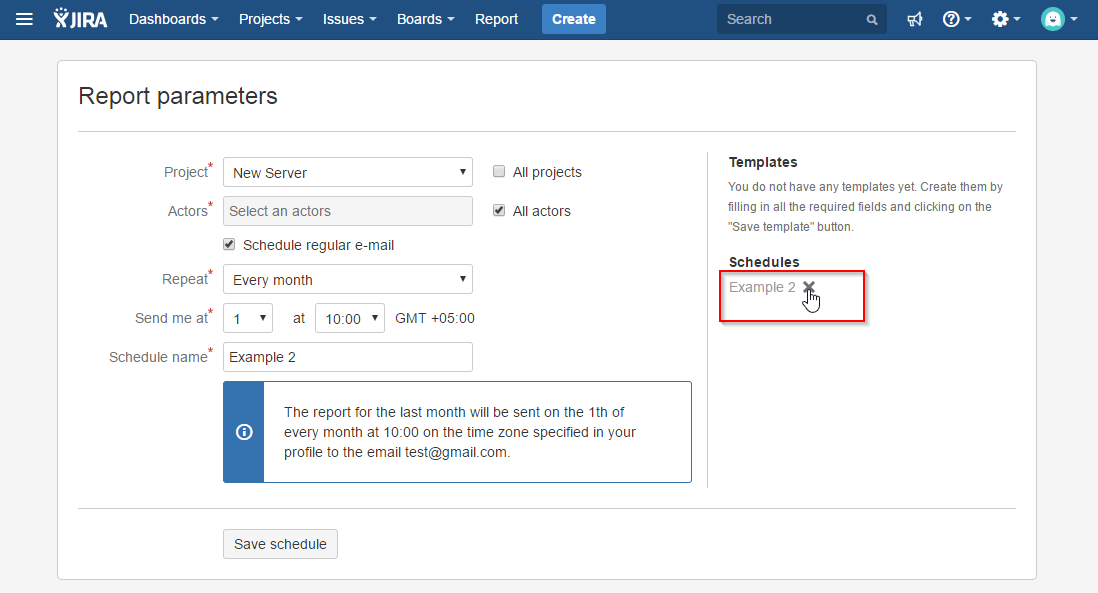
To delete a schedule, you must hover the mouse cursor over the name of this schedule and click on the appeared delete icon:
Report formats
After you press on “Download” button report will be downloaded in Excel format.
For your convenience report will contain two pages in different formats:


Settings
If under the field "Actors" you see the hint "You don't have "read users list" permission. However you still can use "All actors" checkbox." and in the field "Actors" you can select only one user (yourself), then you do not have enough permission to view the list of users:
In order to be able to see all JIRA users in the "Actors" list, you need to configure the permissions as follows:
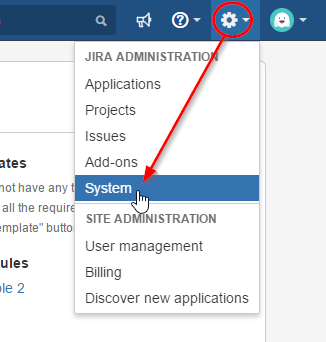
Go to Administration -> System:
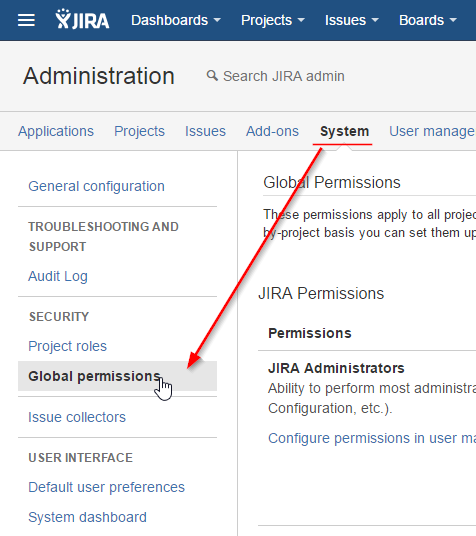
In the left column, select "Global permissions":
In the right column at the bottom of the page, in the "Permission" field, select "Browse Users", in the "Group" field, select the group that the user is configured for:

If you do not have access to JIRA administration, please inform this instruction to your Administrator.